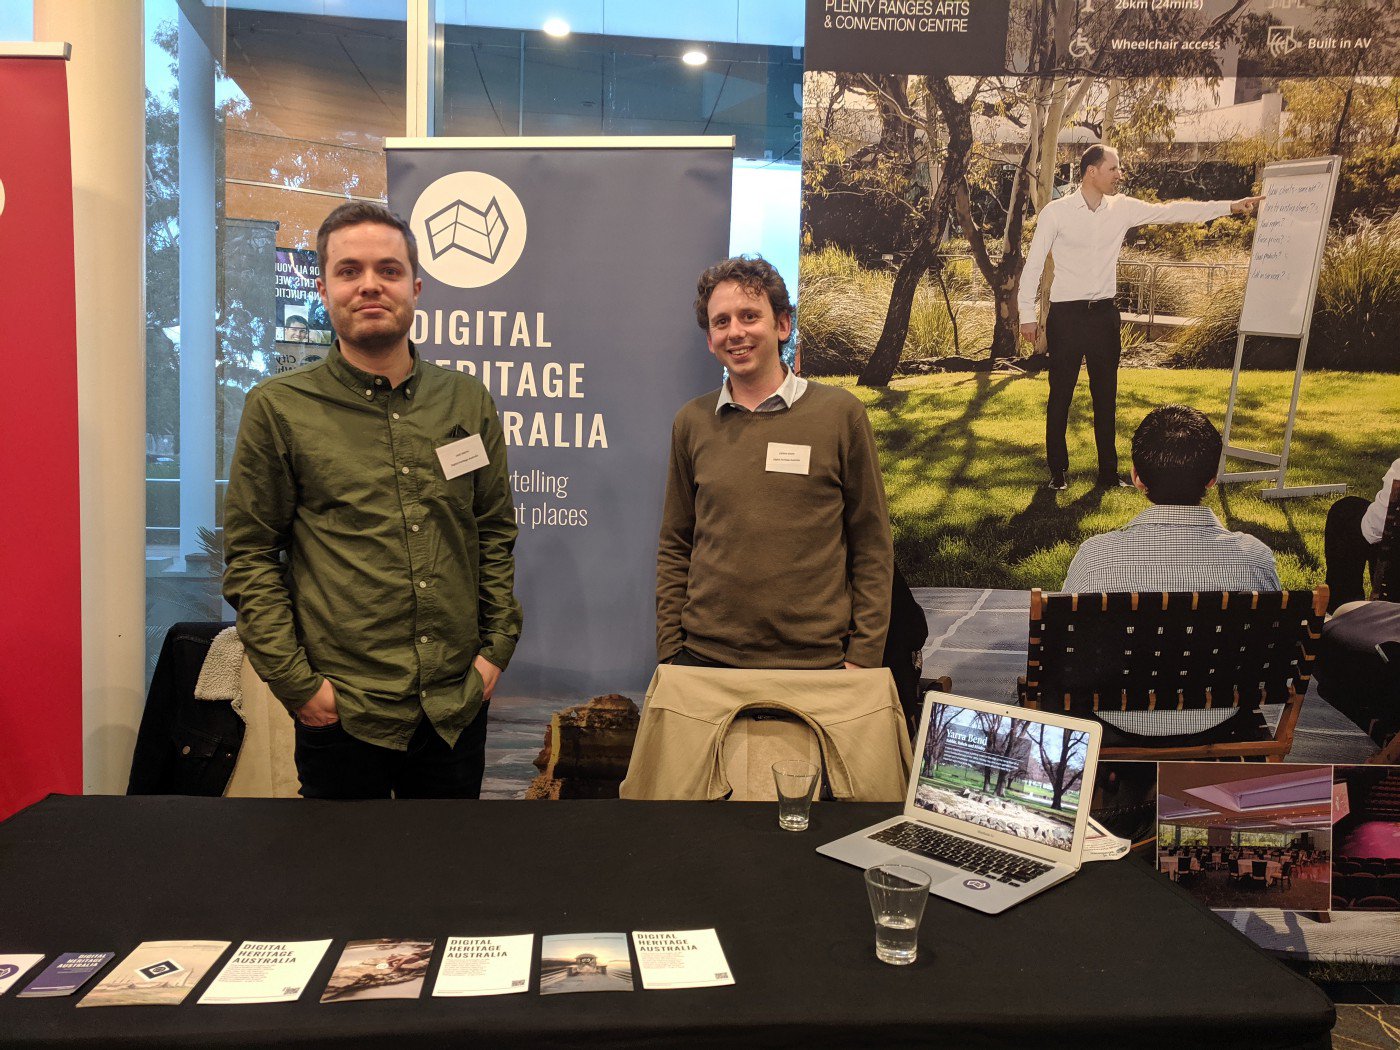
But before I get into the details, a little background about who we are. Digital Heritage Australia is a two-person team that specialises in combining traditional heritage interpretation with new technologies to produce digital products for organisations in the heritage and cultural sectors. We create things like virtual tours, short documentaries, VR experiences and websites.

Over the past few years, we have been experimenting with photogrammetry as a method to produce 3D models.
Photogrammetry is a great, relatively low-cost means of documenting collections and heritage sites to create digital assets that can be retooled in different ways online. You can use it for things like:
- Interacting with objects in VR
- Embedding objects in AR
- Scanning objects for 3D printing
- And more!
The Development Process
The basic setup to do photogrammetry for 3D scanning is:
- A DSLR camera;
- A computer with reasonable processing capabilities;
- Access to photogrammetry software like Agisoft Metashape or RealityCapture.
The process works by taking a sequence of photographs, capturing each surface of an object. The photographs are then processed using software that, in simplified terms, compares each image in the sequence to create a model.
We’ve done lots of different projects using just these basic components, from large objects like statues and rock art, to small ones like napkin rings and monkey skulls.
But there are limitations to this method. For instance, producing models of objects with reflective surfaces is a significant hurdle. This is because a reflection tricks the software into thinking that a section of the object has remained stationary, while other parts of the object have moved, preventing the software from getting an accurate comparison between each photograph.
With this limitation in mind, we were interested in seeing how far we could push the software. This is why we began talking with ACMI about the possibility of accessing their collection to run some experiments. After some organising, ACMI was generous enough to provide us with access to their gaming console collection and some space in the Lab to undertake the scanning. The collection provided us with the perfect opportunity to carry out our tests as almost all of the consoles were made of reflective plastic.
Setting up at ACMI
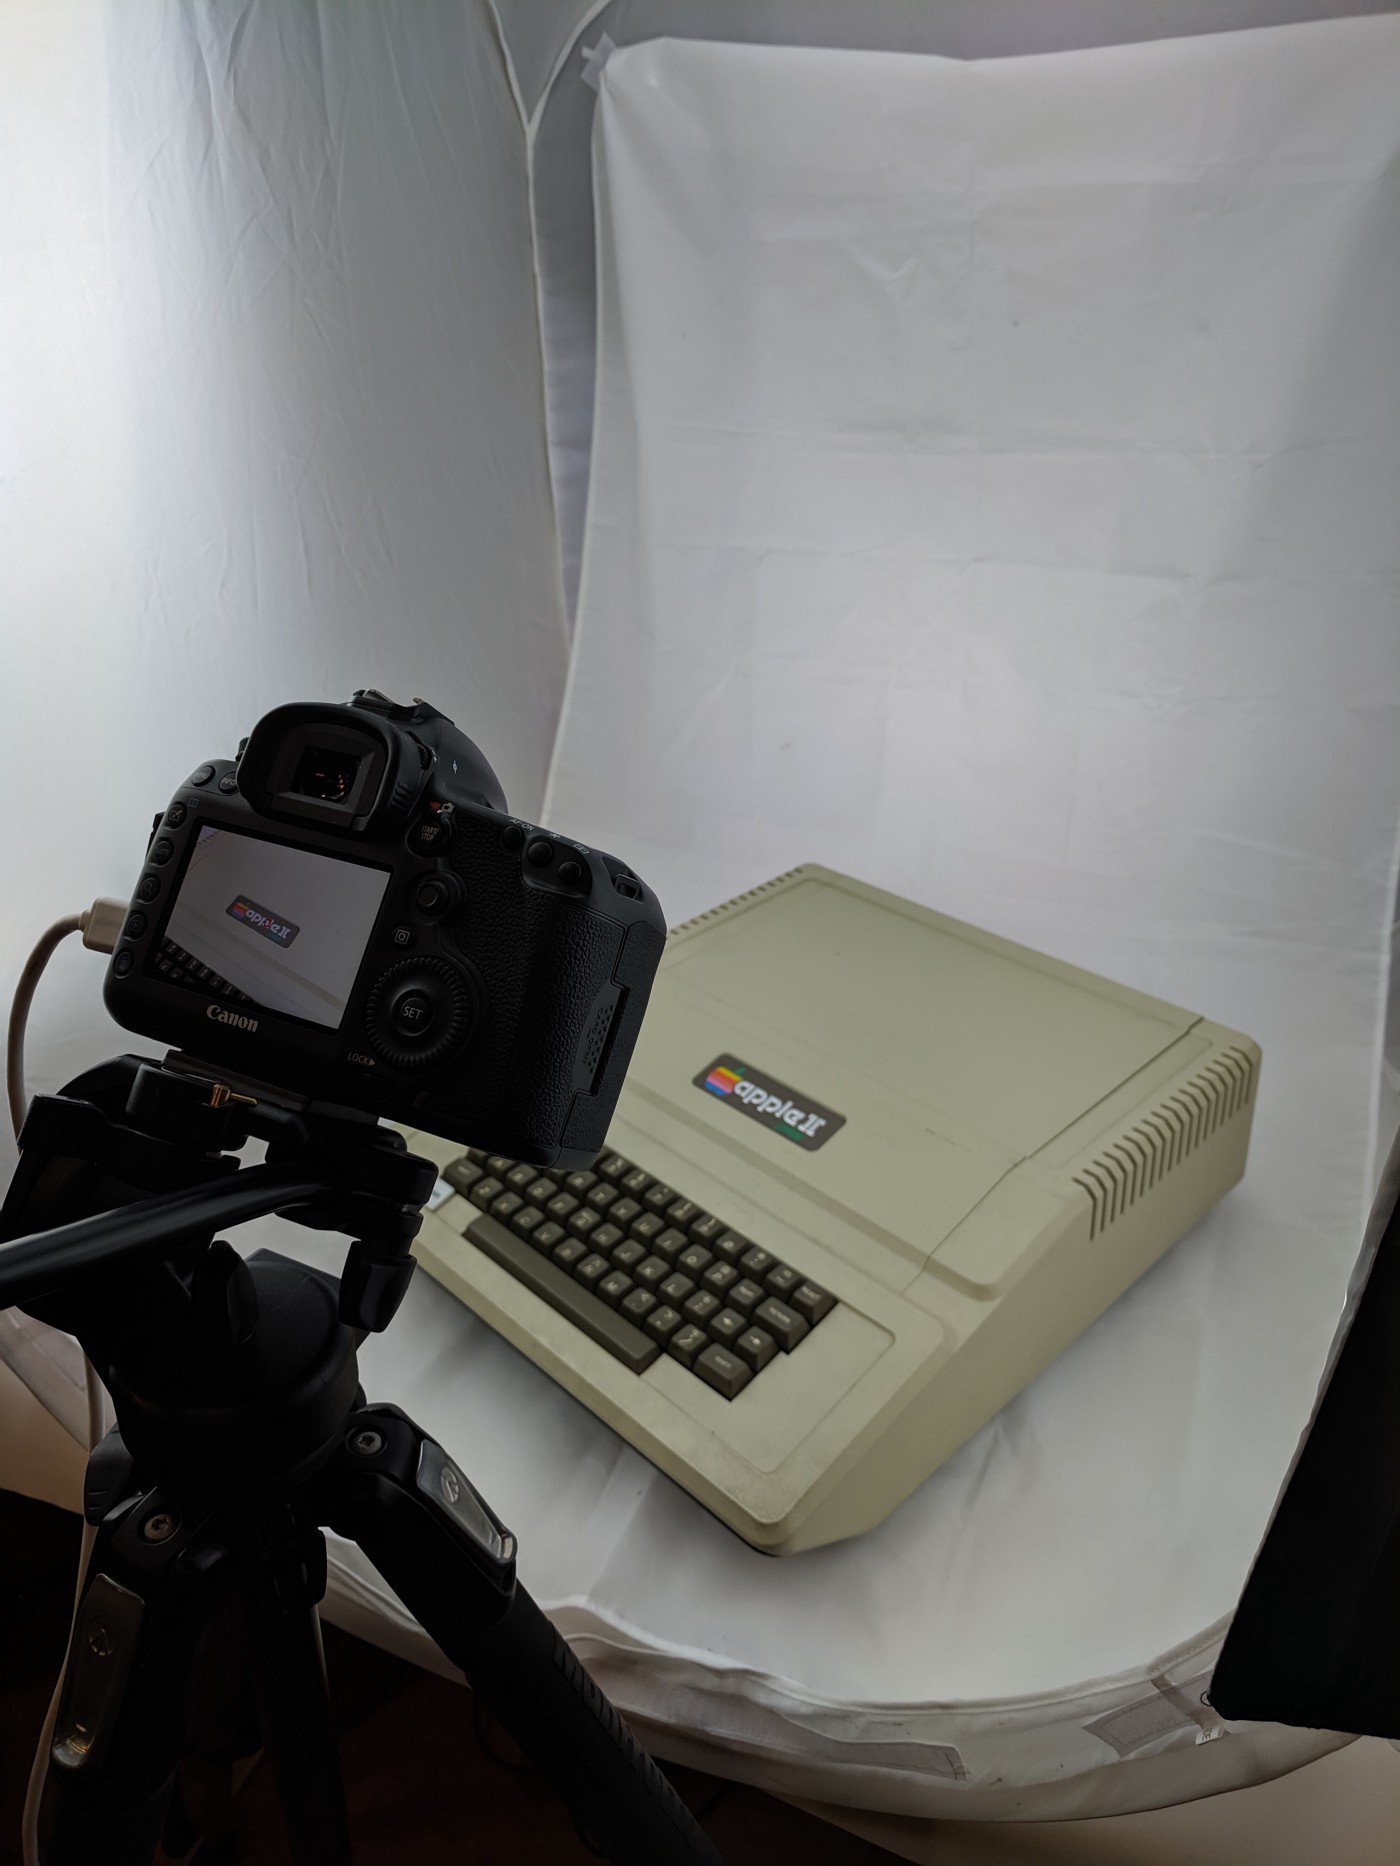
To streamline our process at the Lab, we used some additional photography equipment. We brought in a light tent with accompanying lights, Canon 5Dsr, tripod and turntable. The light tent allowed us to eliminate any shadows, which, similarly to reflective surfaces, also have the potential to confuse the processing software in the development stage. The tripod in combination with the turntable allowed us to fix our camera settings and move the object instead of the camera. This method allows for greater accuracy also helped to eliminate any gaps in the photography.

Once set up, we photographed each console around 200 times from various angles. Depending on the console, we would usually do around three or four runs from different heights with approximately 40 images per run. We would then flip the object and do an additional one to two runs of the underside of the console. Using this method we were able to capture photographs for eleven models over two short days.
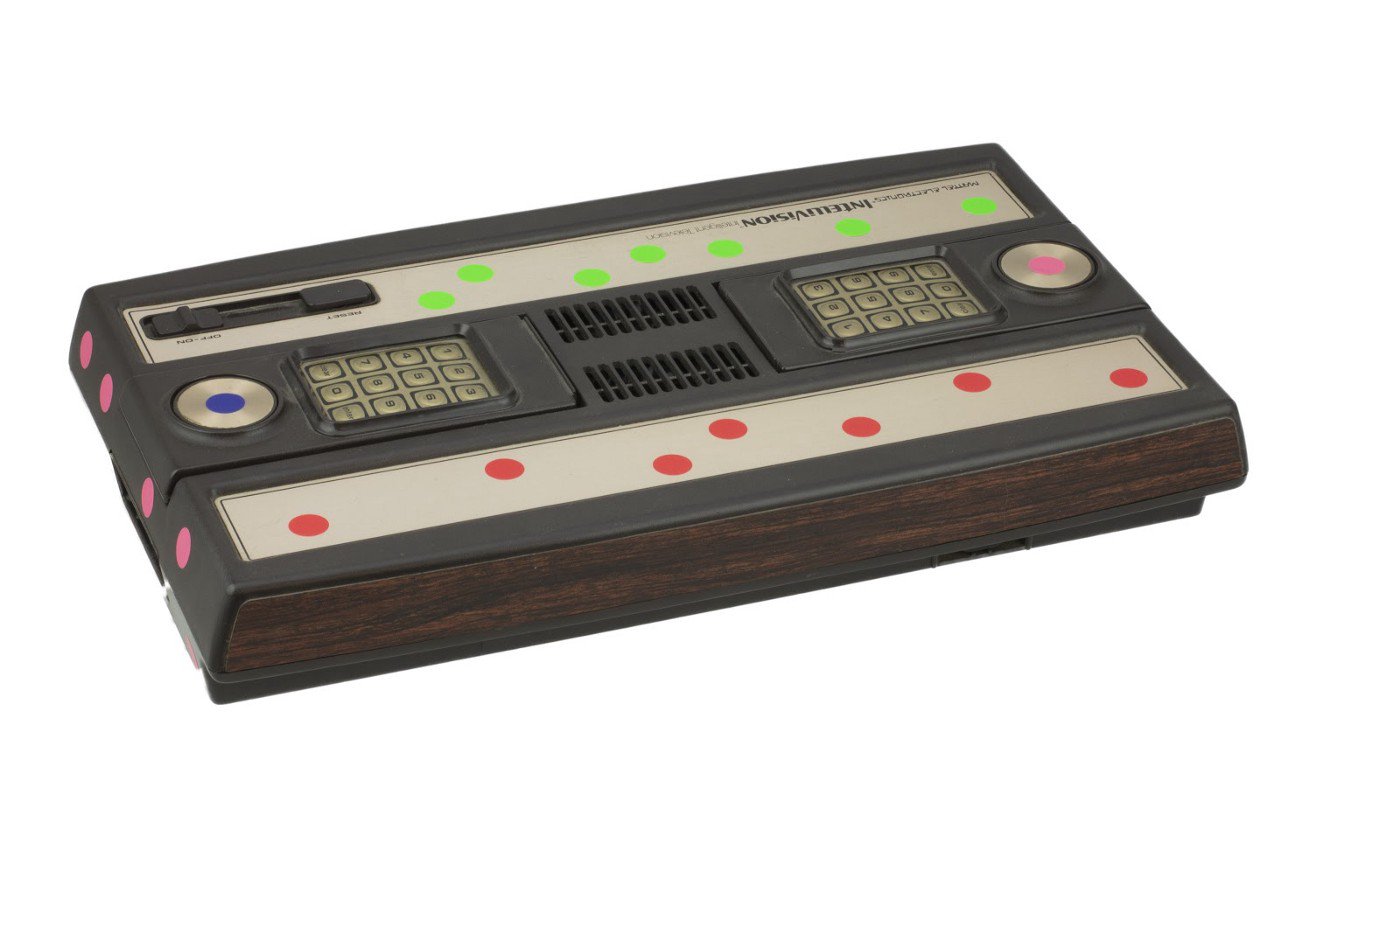
To address the anticipated difficulties of processing the consoles, we applied removable coloured stickers to the most reflective surfaces. The idea being that stickers would assist the software in analysing each of the different planes on the object. An alternative method of addressing the issue of reflective surfaces would be to cover the object with a removable mat finish paint, however, as we were dealing with museum collection items, this was not a possibility for us.

Processing
Once the photography was completed, we began the process of developing the models. The software we used was a combination of Agisoft Metashape, Adobe Photoshop, and Blender. Of the eleven consoles photographed, we were able to produce six models that we were happy with. However, there were still some issues resulting from the scans. This is especially evident on the sides of each of the models where there is a bulging effect. Again, this was caused by the reflective surfaces of each console and unfortunately, the stickers were not able to provide the software with enough detail to accurately capture these planes. This meant that some touch-ups were necessary in Blender (a 3D graphics software that can be used for 3D modelling and sculpting). We are by no means 3D artists, so Blender poses its challenges, but it does provide a mechanism for cleaning things up to a degree where we are happy to display them. The full project is available here.
Next steps
The final stage was then working out what to do with the models — for us, this is the most exciting part as it opens up the possibilities for interpretation, sharing, archiving and much more. Sketchfab is a good starting point. It is a sharing platform that allows its users to upload and share their models. It also provides opportunities to add annotations and allows models to be embedded on other social media platforms, websites along with AR and VR. Another good example of a 3D model sharing platform is Google Poly.
To develop our webpage, we used Three.JS which is a JavaScript library used for displaying 3D graphics. For us, Three.JS provides an opportunity to incorporate models into our web design in exciting ways. Our intention is to create interactive websites that seamlessly incorporate 3D elements, combined with interpretation, which provides the user with an accessible way to interact, learn and play with collections and heritage places.
I hope this article has provided some background information on the methods, process and pitfalls of photogrammetry while also opening up some of the possibilities that this technology can offer to cultural institutions. The next step for us is to take these models and design an interactive webpage that looks at the history and social significance of the consoles and the people who played them — so stay tuned!
We’d like to thank ACMI for making this project possible.

